
You take your waist measurement on Monday, repeat it a few days later, and the number has changed enough to make your progress feel uncertain. Your photos look similar, your workouts are improving, but the tape seems to tell a different story each time. In many cases, the problem isn't the circumference measuring tape. It's the measurement routine.
A flexible tape can follow the curves of a waist, chest, arm, thigh, garment, or object in a way a rigid ruler can't. Used consistently, it turns a simple strip of material into a useful record of body-composition change, muscle growth, tailoring dimensions, and health-related trends. Used inconsistently, it can create noise that hides real progress. If your weight and measurements seem to disagree, why you may be losing inches without losing weight offers useful context.
Introduction to Circumference Measuring Tape and Why It Matters
A circumference measuring tape answers a practical question: how far is it around something? Unlike a rigid ruler, it can bend around a curved surface and meet its starting point. That makes it useful for taking waist, hip, chest, arm, and thigh measurements, as well as dimensions for clothing, sewing projects, and some health assessments.
The modern version grew from tailoring and measurement standardization. The metric system was adopted by the French Académie des Sciences in 1791, while flexible sewing tapes made from cloth or linen began appearing in the second half of the 1800s. Museum and industry histories also note that sewing tapes became common in the 1860s, as sewing machines spread and tailors needed more standardized customer measurements and pattern drafting (history of sartorial measuring tapes).

Why the number matters
For fitness, a measurement is most useful when it helps you identify a direction over time. A single waist reading can be affected by food, hydration, breathing, posture, and tape tension. A consistent series gives you a better basis for judging whether fat loss, muscle gain, or recomposition is occurring.
Circumferences also complement, rather than replace, other information. A broader explanation of how measurements fit into health assessment is available in what body composition analysis tells you about health and progress. The key idea is simple: the tape becomes valuable when the conditions around each reading stay similar.
What a Circumference Measuring Tape Is and How It Works
Think of a flexible tape as a belt with measurement markings. A belt can wrap around your waist and follow its shape. A yardstick can measure a straight line, but it can't sit around a curved body without leaving gaps or bending unpredictably. The tape works because it conforms to the surface while keeping a readable length scale.
For body measurements, the ideal tape is flexible but non-elastic. It should bend easily, but it shouldn't stretch when you pull it. Stretch changes the relationship between the tape and the body, so two people can get different readings by applying different force. Practical measurement guidance recommends placing the tape snugly against the skin without compressing soft tissue and repeating readings to reduce placement and tension error (circumference measurement technique).
Features that make a tape useful
Look for markings that are clear, evenly spaced, and easy to read while the tape is wrapped around the body. Some tapes show both centimeters and inches, which is convenient if your training plan, clothing measurements, or medical forms use different systems. A visible zero end also reduces confusion when you align the tape.
Some body tapes retract into a small case. That design improves portability, but the return spring and locking button add moving parts. A simple flat sewing tape is easier to inspect and can be laid straight for checking its markings.
A body-specific tape differs from a metal construction tape. The broader tape-measure technology developed during the nineteenth century. James Chesterman is credited with the first retractable tape measure in 1821, a widely cited first tape-measure patent was issued in 1829, and a spring-loaded locking mechanism appeared in 1868 (history of tape-measure technology). Those tools made portable measurement more practical, but metal tapes still aren't suited to smoothly following the body.

Practical rule: Flexibility lets the tape follow the curve. Non-elastic construction keeps the reading consistent.
Types and Materials of Circumference Measuring Tapes Explained
A tape becomes useful when it produces the same kind of reading each time. The material affects how easily it follows the body, while the design affects tension, handling, and repeatability. A tailor may prioritize flexibility, someone tracking gym progress may need clear markings and dependable construction, and a clinician or researcher may require controlled tension.
| Tape type | Useful qualities | Main trade-off |
|---|---|---|
| Soft vinyl | Flexible, easy to wipe clean, usually affordable | Can crease, wear, or become less reliable if stretched |
| Fiberglass sewing tape | Light, flexible, and resistant to some common wear | Markings and construction vary between tapes |
| Retractable body tape | Compact, portable, and easy to store | The spring and locking mechanism can wear |
| Medical constant-tension tape | Helps standardize pull force and improves repeatability | Usually more specialized than a basic sewing tape |
Matching the tape to the task
For general fitness tracking, a non-elastic vinyl or fiberglass tape is usually enough when the protocol stays consistent. Select a width that lies flat without twisting, with markings large enough to read in a mirror. A retractable model can help when measuring alone, as long as its case does not pull the tape tighter than intended.
Tailoring calls for a soft tape that can move across fabric and body landmarks. Research or clinical monitoring benefits from a constant-tension design because it limits differences in how firmly each measurement is pulled. The tape supports repeatability, but it cannot correct a changed posture, landmark, or measurement time.
Material thickness can also shift the result. Anthropometric research found that thicker tape material can bias a circumference upward by about 1.13 millimeters to 1.76 millimeters in a 100-millimeter example, which helps explain why high-demand settings favor millimeter-precision or constant-tension medical tapes (anthropometric measurement error).
Choose in this order: avoid stretch first, then prioritize handling and readability. A basic tape used with the same tension, posture, and timing can reveal progress more clearly than an advanced tape used differently from one session to the next.

How to Take Accurate Body Measurements Step by Step
The most reliable routine controls the conditions before it controls the tape. Measure at a consistent time, use similar clothing or bare skin, stand naturally, and avoid taking the reading immediately after eating, training, or deliberately changing your posture.
A repeatable protocol
Prepare the setup. Use a flat, non-elastic tape, a mirror, and a notebook or tracking app. If you're measuring alone, a mirror helps you check whether the tape is horizontal rather than sloping.
Choose and mark the landmark. Decide exactly where you'll measure before placing the tape. For the waist, use the same anatomical location each time. For hips, chest, arms, and thighs, mark or carefully note the position so you don't move the tape between sessions.
Stand normally. Keep your feet and torso in a comfortable position. Don't pull your stomach inward, flex the target muscle, arch your back, or shift your weight to one side.
Wrap the tape flat. It should make full contact around the body, remain parallel to the floor where appropriate, and avoid twists or gaps. Check the front and back in the mirror.
Control tension. Pull until the tape is snug against the skin, but don't press into the tissue. If the tape leaves a deep indentation, you're pulling too hard. If it hangs away from the body, you're pulling too lightly.
Control breathing. Breathe normally, then read at the same point in your breathing cycle each time. Don't hold your breath or push the abdomen outward.
Repeat the reading. Take a second reading without changing the landmark or posture. If the readings differ noticeably, reset the tape and check its level and tension rather than choosing the number you prefer. Averaging repeated readings can reduce random placement and tension error.
A short visual demonstration can help you check the basic handling:
For a wider view of how circumference readings fit alongside other body-composition inputs, see this guide to body composition analysis from Trim. You can also use this body measurement tracking guide to build the routine into your regular progress checks.
Common Measurement Errors and How to Avoid Them
You measure your waist on Monday and get a different result on Thursday, even though your body looks unchanged. The tape may be fine. Small shifts in placement, posture, breathing, or tension can create more variation than the physical change you want to track. Treat the tape as part of a repeatability system, not as a tool that produces trustworthy trends automatically.
Self-measurement has limits. Research comparing self-measured waist and hip circumferences with assisted measurements found small average bias but wide limits of agreement, around ±6 centimeters (self-measured circumference agreement). A single reading can therefore look meaningfully different without representing an equivalent body change.
Diagnose the source before blaming the tool
Placement error happens when the tape sits higher, lower, or at a different angle. Use the same landmark each time, and check its position in a mirror before reading.
Tension error comes from pulling harder on one day than another. Fixed-tension medical tapes can reduce this variation. With an ordinary tape, aim for the same gentle contact, like resting a ribbon against the body without pressing it into the tissue.
Posture and breathing error appear when you brace, flex, inhale, or shift your stance. Stand and breathe normally, then measure at the same point in your breathing cycle. Consistency matters more than forcing a particular posture.
Observer error can arise when different people measure the same site. Use the same person when possible, with written landmarks and the same procedure. If self-measuring, keep your setup stable so your own technique does not change between sessions.
The useful question isn't “Is my tape accurate?” It's “Can I reproduce the way I used it last time?”
Take duplicate readings and follow a consistent schedule. If they differ noticeably, reset the tape instead of choosing the preferred number. Like weighing on an uneven floor, the clearest trend comes from using the same place, process, tension, posture, and conditions each time.
Choosing Maintaining and Using Your Tape for Long Term Progress
A useful long-term system has three parts: a suitable tape, a stable protocol, and a clear record. Choose a non-elastic tape that lies flat, has readable markings, and feels easy to handle. If you need more controlled tension, consider a medical-style constant-tension design instead of relying on feel alone.
Inspect the tape before using it. Look for stretched sections, damaged edges, faded markings, creases that prevent it from lying flat, or a retractable mechanism that no longer locks consistently. Store a soft tape flat or loosely rolled, keep it clean with gentle wiping, and don't use it as a strap or pulling tool.
Build a record you can interpret
Log the date, measurement site, reading, and any unusual condition such as post-training swelling or a change in clothing. Use the same units and record duplicate readings or their average. A body measurement tracker can make this easier by keeping sites and dates together instead of leaving values scattered across notes.
Circumference data works best beside your training log, bodyweight trend, photos, and performance markers. For muscle growth, record hard sets, repetitions, load, and exercise execution. Current evidence supports hypertrophy across a broad loading range of roughly 30% to 85% of 1RM, while loads above 60% of 1RM don't clearly outperform lighter loads for muscle growth when sets are taken sufficiently hard (resistance-training loading evidence). A separate review found about 12 to 20 weekly sets per muscle group may be an optimal target in young trained men, particularly when muscles are trained about twice weekly (training volume review).
For body-fat estimation, treat the tape as a trend tool rather than a precise diagnosis. A 2025 study reported a standard error of estimate around 3.5% body fat for males and 3.6% for females, with accuracy dependent on the rater's skill and experience (military circumference method research). The tape can show direction over time, but a single estimate shouldn't decide whether your plan is working.
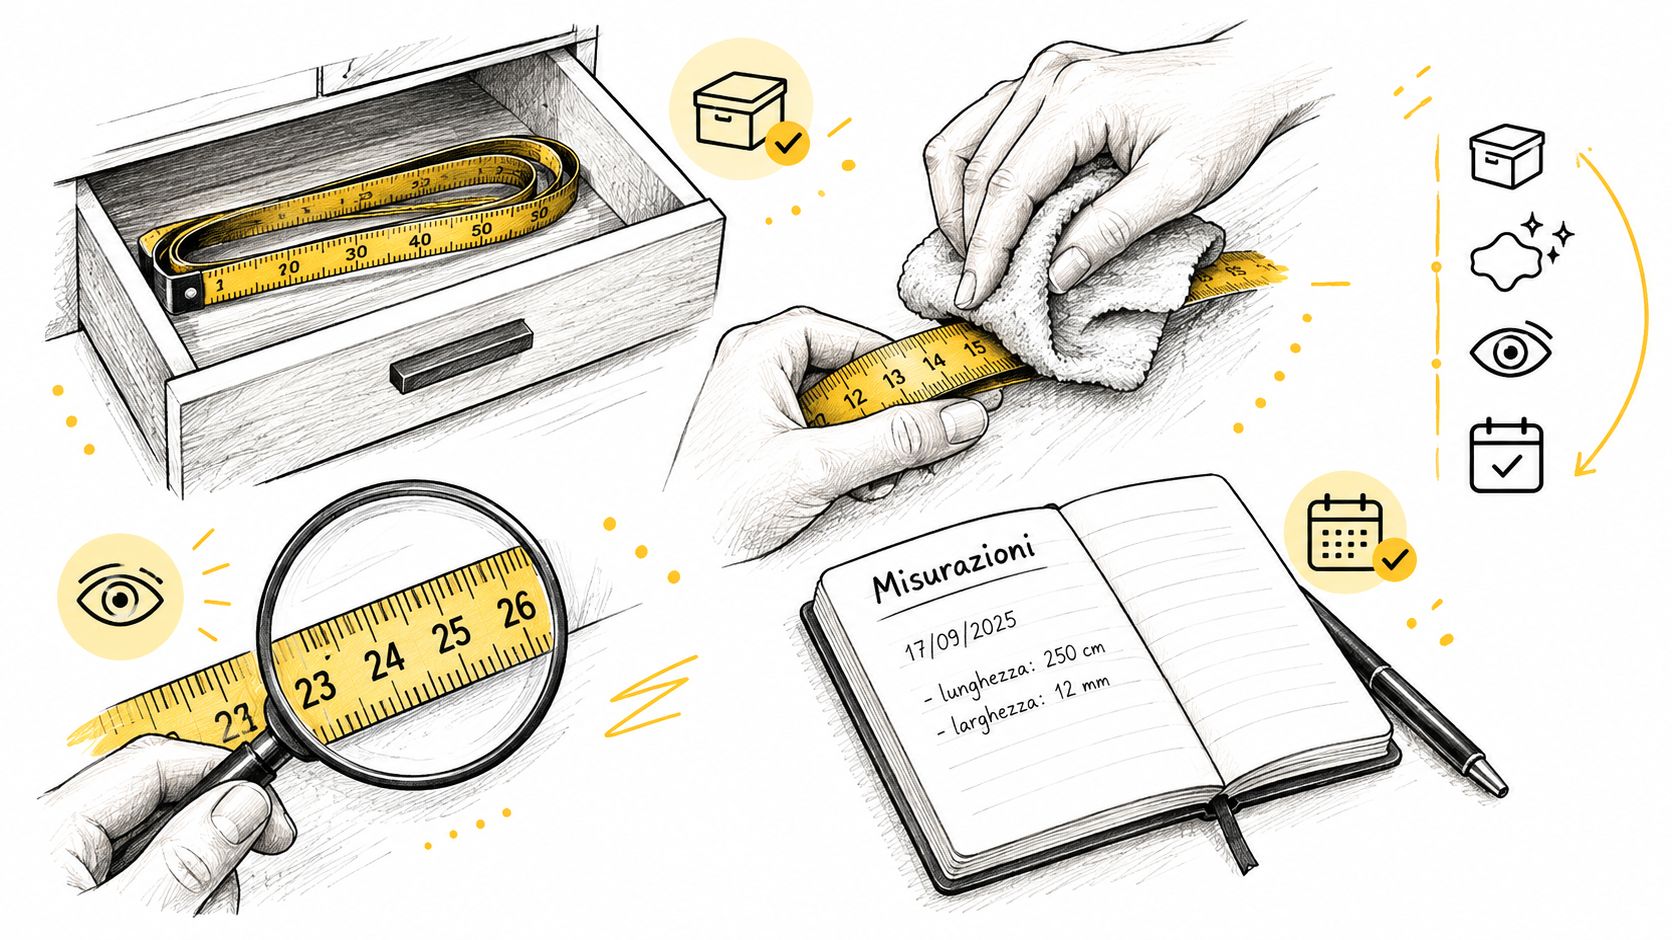
Use this simple checklist at your next measurement session:
- Same landmark: Place the tape at the same location.
- Same conditions: Keep timing, clothing, posture, and breathing consistent.
- Same tension: Stay snug without compressing tissue.
- Duplicate readings: Repeat and record the result consistently.
- Connected records: Compare measurements with bodyweight, photos, and workout performance.
Strive Workout Log lets you record circumferences, bodyweight, workouts, sets, reps, and load in one local progress history, with charts that help you compare measurement trends against training performance. Visit Strive Workout Log and start building a repeatable measurement and progressive-overload routine today.
Leave a Reply